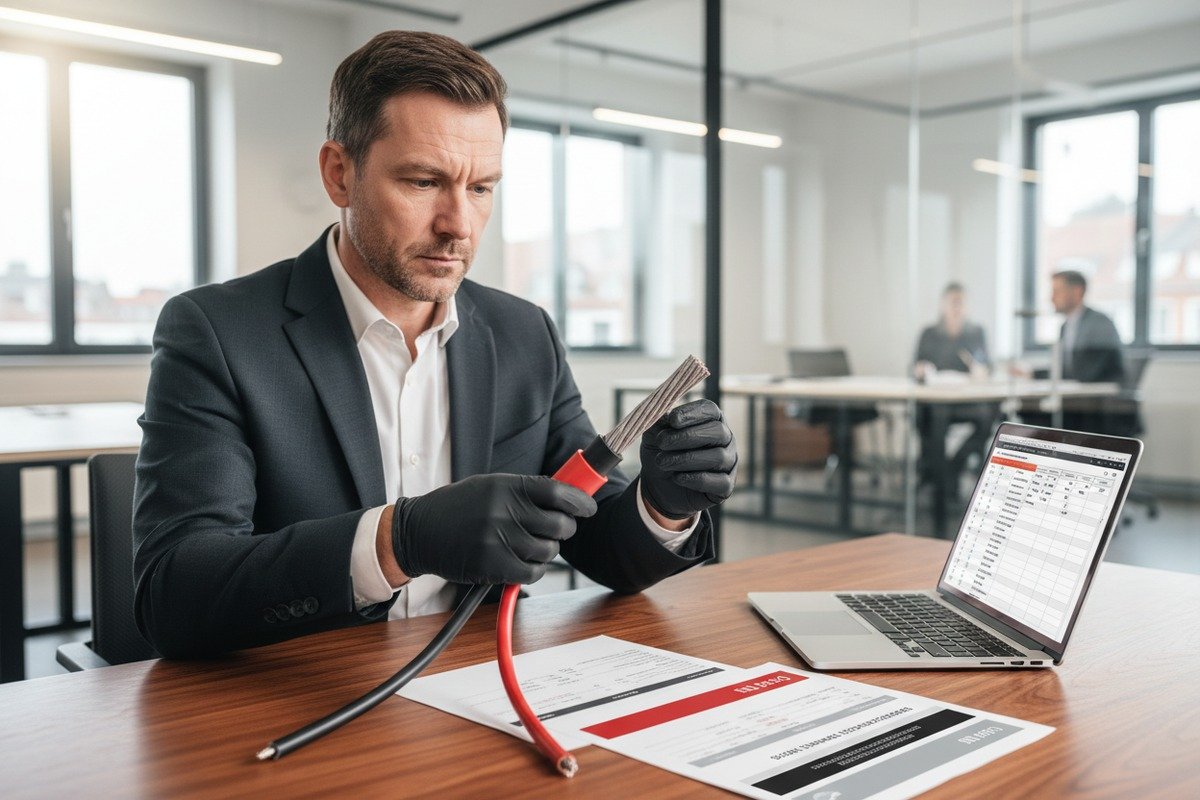
Every year, our production lines ship thousands of kilometers of ADSS cable to power utilities and telecom contractors worldwide IEEE 1222 standards 1. Yet one question keeps coming back from procurement teams: how do I know the cable I receive in bulk will match the sample I tested? That gap between expectation and reality is where projects fail, budgets blow up, and construction crews sit idle OTDR trace 2. The root cause is almost always the same — buyers skip the sample-and-test phase or rush through it without a structured plan.
To request ADSS cable samples, contact manufacturers with your exact span, tension, and fiber count requirements, then ask for 50–100 meters with full datasheets. Develop a testing plan covering mechanical, optical, and environmental evaluations per IEEE 1222 standards before committing to a bulk order.
This guide walks you through every step, from writing your first sample request email to running final post-installation checks. We will cover material verification, lab testing protocols, lead times, and the practical details that separate a smooth deployment from a costly failure. Let us start with the sample request itself.
How can I request a custom ADSS cable sample that matches my specific span and tension requirements?
Our engineering team reviews dozens of sample requests each month, and the most common problem is incomplete specifications. A vague request leads to a generic sample that tells you nothing about real-world performance on your specific route.
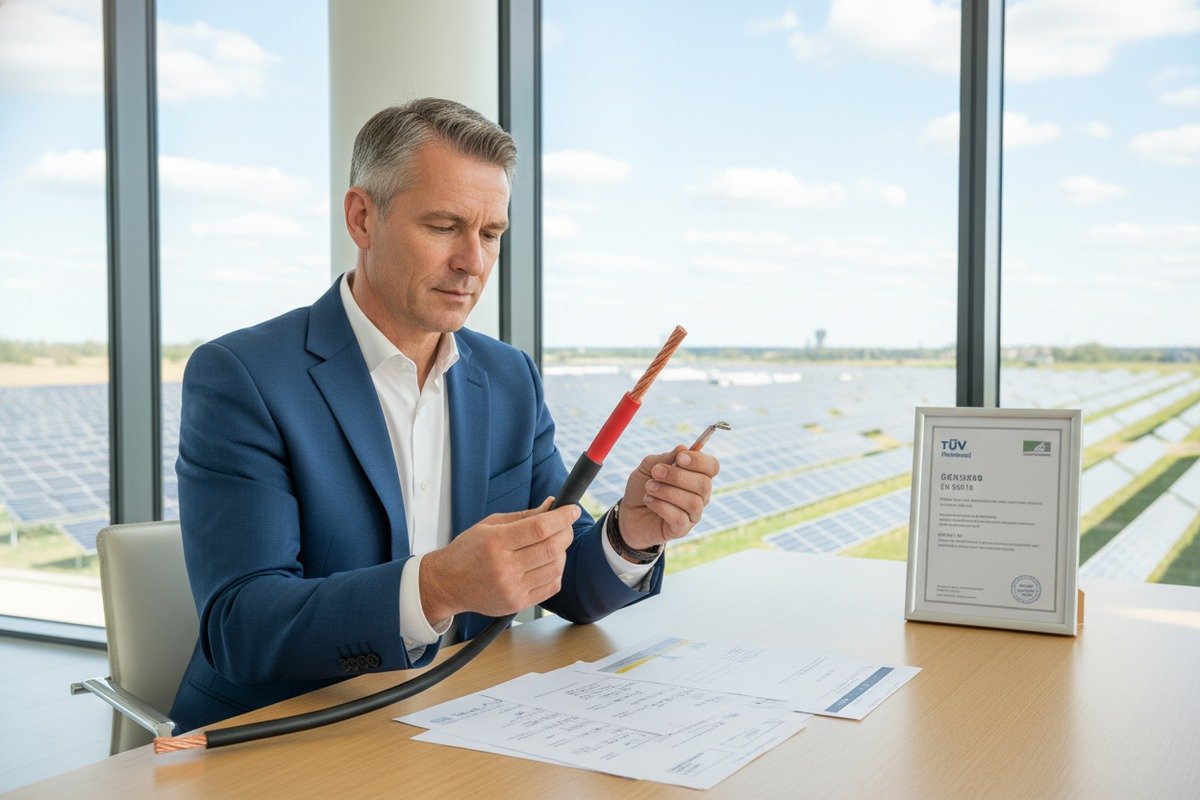
To request a custom ADSS sample, provide the manufacturer with your span length, maximum allowable tension, design weather loads, fiber count, and installation voltage level. Ask for 50–100 meters on a proper reel, accompanied by sag-tension charts and factory test reports.

Start With a Complete Specification Sheet
Before you email any supplier, gather your project data. You need span length, maximum and everyday tension values, ice and wind loading assumptions, operating temperature range, fiber count, and the voltage of the power line where the cable will hang. Without these numbers, no manufacturer can give you the right cable design. Our sales engineers always ask for this data upfront because ADSS cables are not one-size-fits-all. A cable designed for a 200-meter span at low tension will fail on a 700-meter span under heavy ice loading.
Who to Contact and What to Ask For
Reach out to manufacturers who comply with IEEE 1222-2011 (or the updated 2019 edition). Reputable producers include companies like Prysmian, AFL, Corning, STL, and Lonsoncable. When you contact a sales representative, specify your cable requirements clearly. Here is a checklist:
| Item | Details to Provide | Why It Matters |
|---|---|---|
| Span length | Exact distance in meters (e.g., 400m, 700m, 1000m) | Determines cable design and strength member |
| MAT (Max Allowable Tension) | In kilonewtons, under design weather conditions | Ensures cable will not over-strain fibers |
| UTS/RTS (Rated Tensile Strength) | Minimum breaking strength required | Safety margin for extreme events |
| Fiber count and type | e.g., 48F G.652D 3, 96F G.657A1 | Affects tube count and cable diameter |
| Voltage level | e.g., 69kV, 138kV, 230kV | Dictates jacket material (tracking-resistant for >69kV) |
| Installation method | Back-pull, stationary reel, etc. | Influences reel size and minimum bend radius |
| Sample length | 50–100 meters recommended | Enough for lab testing without excess cost |
Reel Type and Shipping Considerations
Ask about the reel. For samples shipped internationally, wooden reels are standard and cost-effective. However, if the sample will sit in storage for more than four months before testing, request a steel reel. Wood absorbs moisture and can warp, putting pressure on the cable. We always lag our wooden reels and secure the cable end to prevent unwinding during transit. Make sure the supplier confirms reel dimensions and weight so your logistics team can plan properly.
Request Supporting Documentation
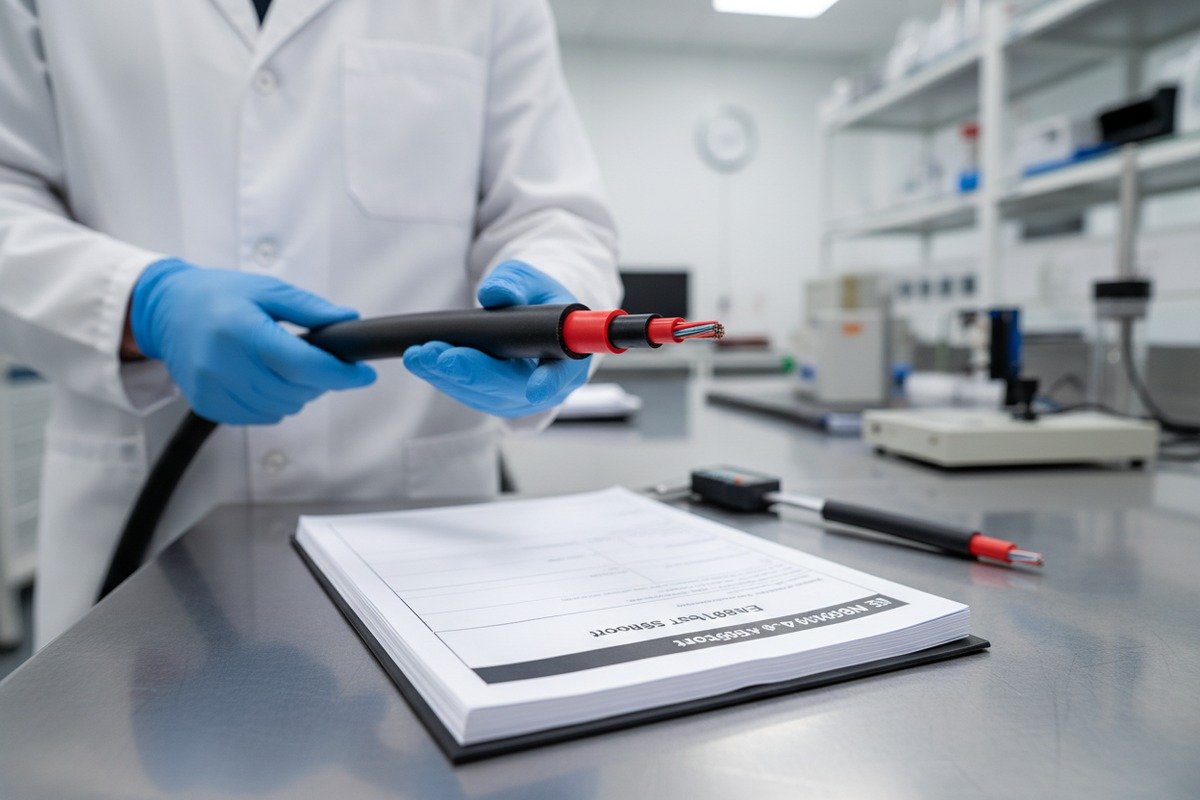
A sample without documentation is nearly useless. Ask for the factory acceptance test (FAT) report 4, an OTDR trace for every fiber, sag-tension calculation tables for your specific span, and material certifications for the aramid yarn 5 and jacket compound. This paperwork lets you cross-check lab results against the manufacturer's claims before you commit to a bulk purchase.
What key mechanical and environmental tests should I include in my ADSS cable evaluation plan?
When we ship samples to contractors in North America or Southeast Asia, we always recommend a structured three-phase testing approach. Skipping any phase can leave hidden defects that only surface after installation — when fixing them costs ten times more.
Your ADSS evaluation plan should include mechanical tests (tensile strength, crush resistance, bend performance, vibration), optical tests (OTDR attenuation, insertion loss, continuity), and environmental simulations (temperature cycling, wind loading, ice loading) aligned with IEEE 1222 standards.

Phase 1: Receiving Inspection
When the sample arrives, inspect the reel first. Check for damage to the flanges, loose cable wraps, and any kinks or crushing. Measure the cable outer diameter with calipers and compare it to the datasheet. Then run a quick OTDR test on every fiber to confirm continuity and check for any attenuation spikes caused by shipping damage. Record everything. This baseline data becomes your reference for all later tests.
Phase 2: Laboratory Mechanical and Optical Tests
This is the core of your evaluation. The table below outlines the essential tests:
| Test Category | Specific Test | Standard / Target | Equipment Needed |
|---|---|---|---|
| Mechanical | Tensile strength (UTS) | Must meet or exceed rated value per IEEE 1222 | Universal testing machine |
| Mechanical | Crush resistance | No fiber breakage at rated crush load | Crush test fixture |
| Mechanical | Bend performance | No attenuation increase at min. bend radius | Mandrel, OTDR |
| Mechanical | Vibration / Aeolian fatigue | Simulate 10⁷ cycles minimum | Vibration test bench |
| Optical | OTDR attenuation | ≤0.35 dB/km at 1310nm, ≤0.22 dB/km at 1550nm (G.652D) | OTDR unit |
| Optical | Insertion loss | Per connector/splice spec | Light source and power meter |
| Optical | Fiber strain at MAT | ≤0.05% (stranded) / ≤0.1% (central tube) | Strain gauge, tension machine |
| Environmental | Temperature cycling | -40°C to +70°C, no added attenuation | Climate chamber with OTDR |
| Environmental | Water penetration | No water migration past 1 meter in 24 hours | Water column test setup |
| Environmental | UV and tracking resistance | For cables on lines >69kV | UV chamber, tracking test rig |
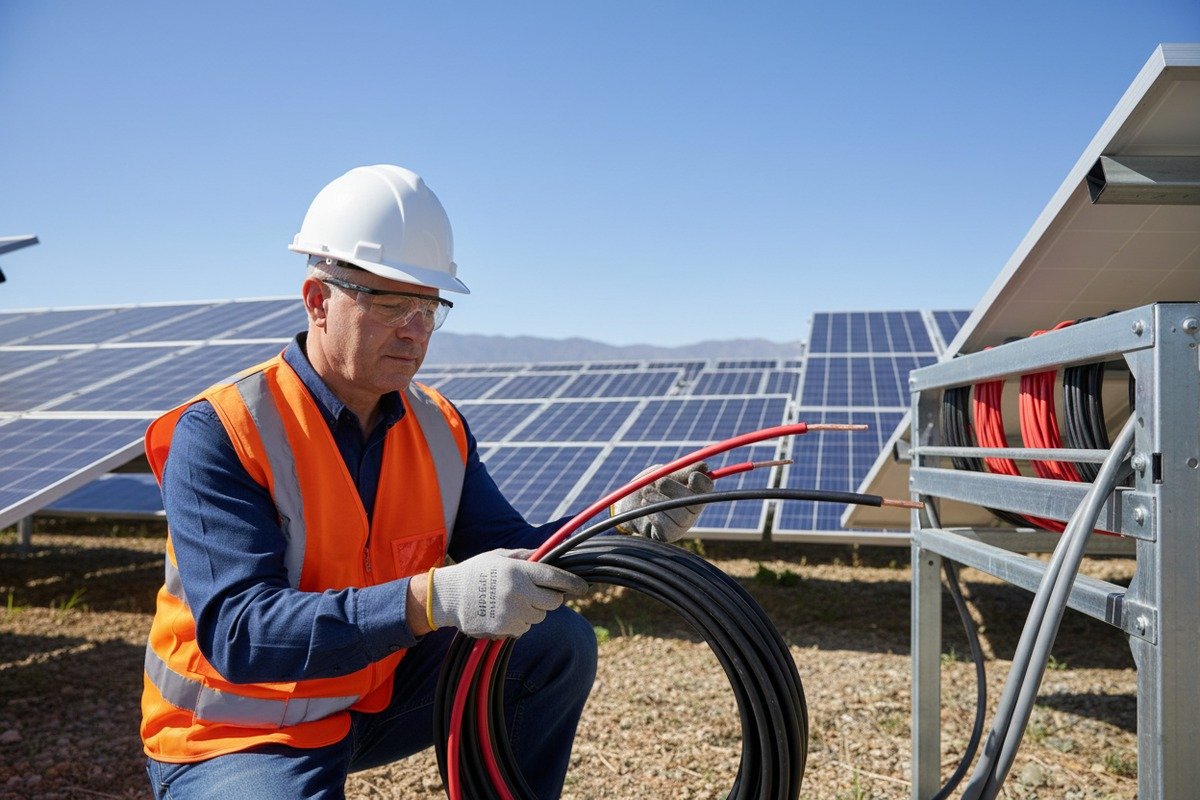
Phase 3: Simulated Installation Test
If possible, string a section of the sample cable between two poles or towers at your actual project site. Use a dynamometer to apply the design tension. Measure sag and compare it to the manufacturer's sag-tension chart. Run OTDR tests under tension. This field simulation catches issues that lab tests may miss, like unexpected sag behavior or hardware compatibility problems.
Fiber Strain Is the Critical Metric
IEEE 1222 sets fiber strain limits at 0.05% for stranded loose-tube designs and 0.1% for central-tube designs when the cable is loaded to MAT. Exceeding these limits causes micro-bending, which increases attenuation over time. Some field crews focus on quick tensioning and sag setup without checking strain. This shortcut can work for years — until temperature extremes push the cable beyond its design envelope and fibers start degrading.
Do Not Skip the Hardware Compatibility Check
Test your suspension clamps 7 and dead-end clamps with the sample cable. Apply rated loads. Look for jacket damage, slippage, or deformation. Hardware interaction is one of the top causes of premature ADSS cable failure. If the clamp crushes the cable or allows it to slip, the best cable in the world will not save your project.
How do I verify that the aramid yarn and jacket materials in my sample meet my project standards?
Material quality is something our quality control team obsesses over daily. We have seen competing products where the aramid yarn count was 20% below what the datasheet claimed. The cable looked fine. It passed a quick pull test. But under sustained loading in hot weather, it stretched beyond limits and the fibers cracked within two years.
Verify aramid yarn by weighing a measured cable length and comparing the yarn mass to the datasheet. Test jacket materials for thickness, hardness, UV resistance, and tracking resistance. Request third-party mill certificates for all raw materials and cross-reference them with the manufacturer's claims.

Aramid Yarn Verification
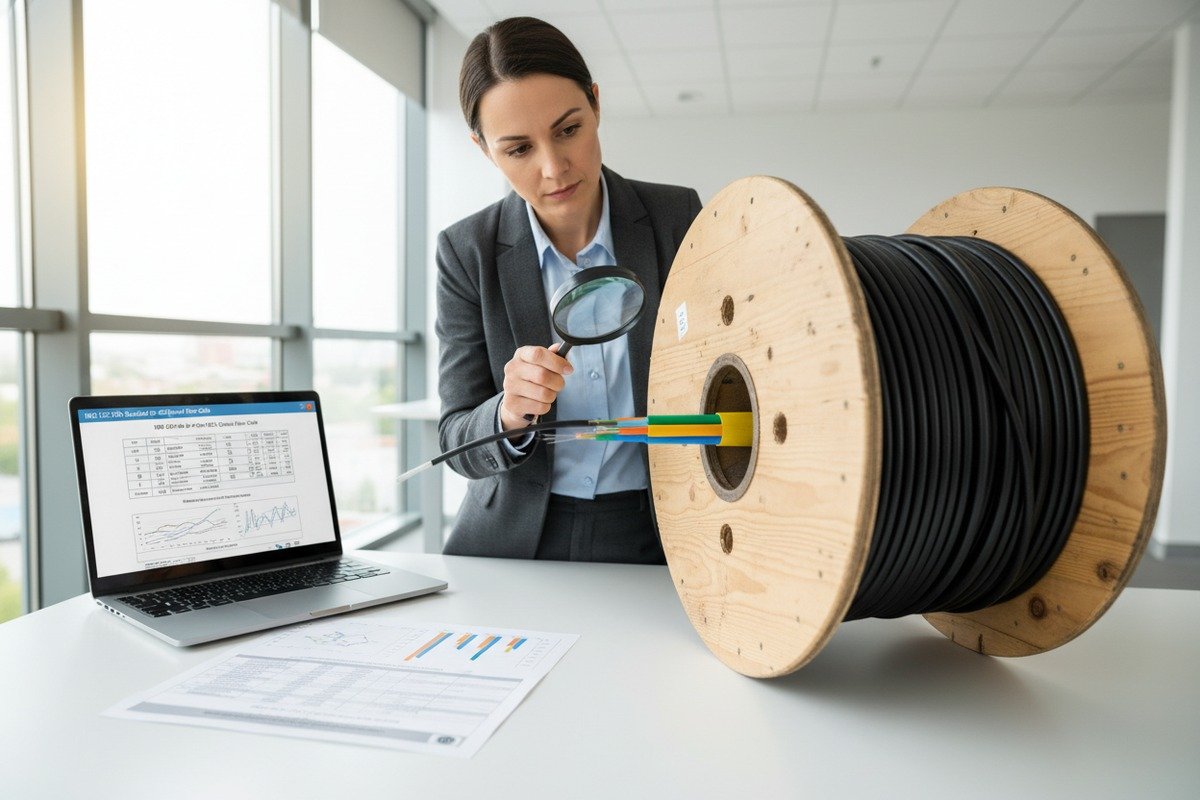
Aramid yarn (typically Kevlar® or Twaron®) is the primary strength member in ADSS cables. It carries the full mechanical load. The most reliable verification method is a weight check. Cut a known length of cable — say, 1 meter — and carefully strip out only the aramid yarn. Weigh it on a precision scale. Compare the result to the manufacturer's datasheet, which should list aramid content in grams per meter or total denier count. A discrepancy of more than 5% is a red flag.
You can also request the yarn manufacturer's mill certificate. This document states the yarn type, lot number, linear density, and breaking strength. Legitimate suppliers provide these without hesitation. If a cable manufacturer refuses or provides a certificate with inconsistent lot numbers, walk away.
Jacket Material Testing
The outer jacket 8 protects the cable from UV radiation, abrasion, moisture, and — on high-voltage lines — electrical tracking. For lines above 69kV, a tracking-resistant jacket compound 9 is essential. Here are the key jacket tests:
| Test | Method | Acceptable Result |
|---|---|---|
| Jacket thickness | Cross-section measurement with micrometer | Within ±10% of nominal datasheet value |
| Shore D hardness | Durometer test per ASTM D2240 | 50–65 Shore D for medium-density PE |
| UV resistance | 720-hour accelerated weathering (ASTM G154) | No cracking, ≤10% tensile strength loss |
| Tracking resistance | Inclined plane tracking test (IEC 60587) | Class 1A 3.5kV or higher for EHV applications |
| Elongation at break | Tensile pull per ASTM D638 | ≥300% for MDPE jackets |
Watch for Material Downgrading
This is a real pain point for international buyers. Some manufacturers substitute cheaper yarn or use recycled polyethylene to lower costs. The cable passes a quick visual inspection but fails in the field. Our approach at Lonsoncable is to provide full material traceability — from yarn spool lot numbers to PE resin batch codes. We encourage every buyer to ask for this level of documentation. If a quote seems too good to be true, it often means the materials have been downgraded.
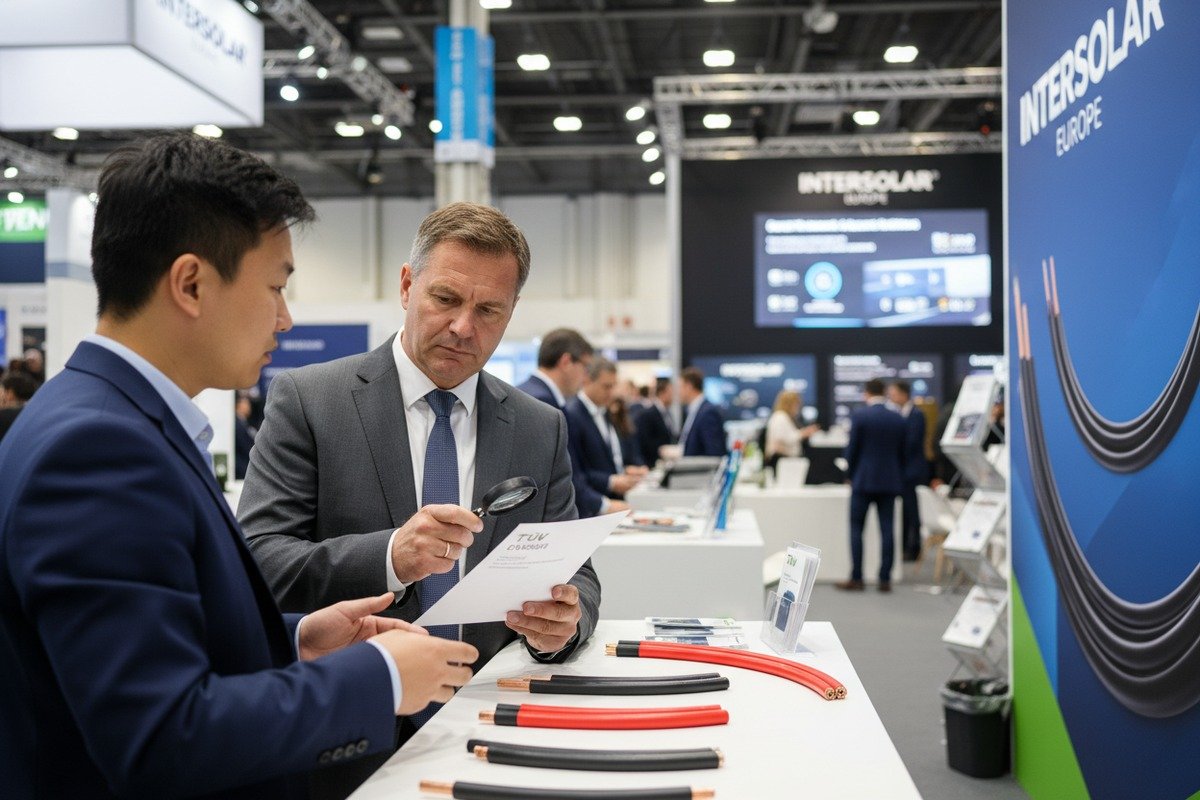
Third-Party Testing Labs
For critical projects, send a section of the sample to an independent testing lab like UL, Intertek, or a local university materials science department. They can run compositional analysis on the jacket polymer and tensile tests 10 on the aramid yarn. The cost is modest compared to the risk of deploying substandard cable across hundreds of kilometers of power line.
What is the typical lead time for receiving and testing fiber optic cable samples before I place a bulk order?
Our logistics team tracks every sample shipment from factory floor to the buyer's testing lab. The single biggest complaint we hear is that samples arrived late or that buyers underestimated the testing timeline, forcing them to rush the evaluation and skip critical steps.
Typical lead time for ADSS samples is 2–4 weeks for manufacturing plus 1–3 weeks for international shipping. Allow an additional 2–4 weeks for comprehensive lab and field testing. In total, plan for 5–11 weeks from sample request to final evaluation before placing a bulk order.

Manufacturing Lead Time
If the exact cable specification exists in the manufacturer's standard product range, sample production can be as fast as 7–10 business days. Custom designs — unusual fiber counts, special jacket compounds, or very high fiber counts like 288F — may take 3–4 weeks. At our facility, we prioritize sample orders because we understand they gate the entire project timeline. Stock items in common configurations (48F, 96F G.652D with standard PE jacket) typically ship within 15 days.
Shipping and Customs
International shipping from China to the US East Coast takes about 25–35 days by sea freight, or 5–7 days by air. For a 50–100 meter sample on a small reel, air freight is often practical and costs between $150 and $500 depending on reel weight. Factor in customs clearance — allow 3–5 extra business days. Request that the manufacturer provides accurate HS codes and commercial invoices to avoid delays.
Testing Duration
A thorough evaluation takes time. Here is a realistic timeline:
- Receiving inspection and baseline OTDR: 1–2 days
- Mechanical lab tests (tensile, crush, bend, vibration): 5–10 days
- Environmental chamber tests (temperature cycling, UV): 7–14 days
- Field simulation (stringing, sag measurement, hardware test): 3–5 days
- Documentation review and reporting: 2–3 days
In total, testing can take 2–5 weeks depending on lab availability and the number of tests. If you send samples to a third-party lab, add their queue time — typically 1–2 weeks.
Planning the Full Timeline
Here is a summary timeline for the entire sample-to-order process:
| Phase | Duration | Notes |
|---|---|---|
| Sample request and confirmation | 2–5 days | Include all specs; confirm pricing and shipping |
| Sample manufacturing | 7–28 days | Stock items faster; custom designs take longer |
| Shipping (sea) | 25–35 days | Air freight: 5–7 days |
| Customs clearance | 3–5 days | Ensure correct HS codes and documentation |
| Receiving inspection | 1–2 days | Visual check, baseline OTDR |
| Lab and field testing | 14–35 days | Depends on test scope and lab availability |
| Report review and decision | 3–5 days | Internal review, supplier feedback |
| Total | ~5–11 weeks | Plan for 8 weeks as a practical average |
Do Not Rush This Process
It is tempting to skip environmental testing to save two weeks. But temperature cycling and UV resistance tests reveal weaknesses that only show up after months or years in the field. A two-week investment in the lab can prevent a two-year headache on a live power line. We always advise our customers to build the full testing timeline into their project schedule from day one.
Coordinating With the Bulk Order
Once testing is complete and results are satisfactory, you can place the bulk order with confidence. At this point, confirm that the production cable will use the same materials, tooling, and processes as the approved sample. Request a written confirmation from the manufacturer. Bulk production lead times for ADSS cables typically range from 20 to 45 days depending on the order volume and fiber count. By planning your sample phase early, you avoid the painful situation where construction crews are waiting and the cable is still on the factory floor.
Conclusion
Requesting ADSS cable samples and building a proper testing plan is the single most effective way to protect your project from material fraud, mechanical failures, and costly delays. Start early, test thoroughly, and document everything — your future self will thank you.
Footnotes
1. Provides information on the IEEE 1222 standard for ADSS cables, covering testing and performance criteria. ↩︎
2. Provides a clear explanation of how to read and interpret OTDR traces for fiber optic network analysis. ↩︎
3. Describes the ITU-T G.652D standard for single-mode optical fiber characteristics and attributes. ↩︎
4. Explains what a Factory Acceptance Test (FAT) is, its purpose, and how it works in industrial equipment quality control. ↩︎
5. Provides information on aramid fibers like Kevlar, used as strength members in optical fiber cables. ↩︎
6. Provides information on the mechanical properties and strain limits of optical fiber cables from a scientific publication. ↩︎
7. Illustrates suspension clamps as essential hardware for supporting conductors and managing mechanical stress in overhead lines. ↩︎
8. Describes the function of a cable's outer jacket in providing physical and environmental protection to inner components. ↩︎
9. Highlights the use of track-resistant polyethylene (TRPE) jackets for ADSS cables in high electric field potentials. ↩︎
10. Explains tensile testing as a destructive method to evaluate material strength, stiffness, and ductility. ↩︎