Every week, our sales team at Lonsoncable fields dozens of calls from EPC contractors and distributors asking the same question: which cable size do I actually need cable's rated ampacity 1? Choose wrong, and you face either wasted budget or dangerous power losses on site.
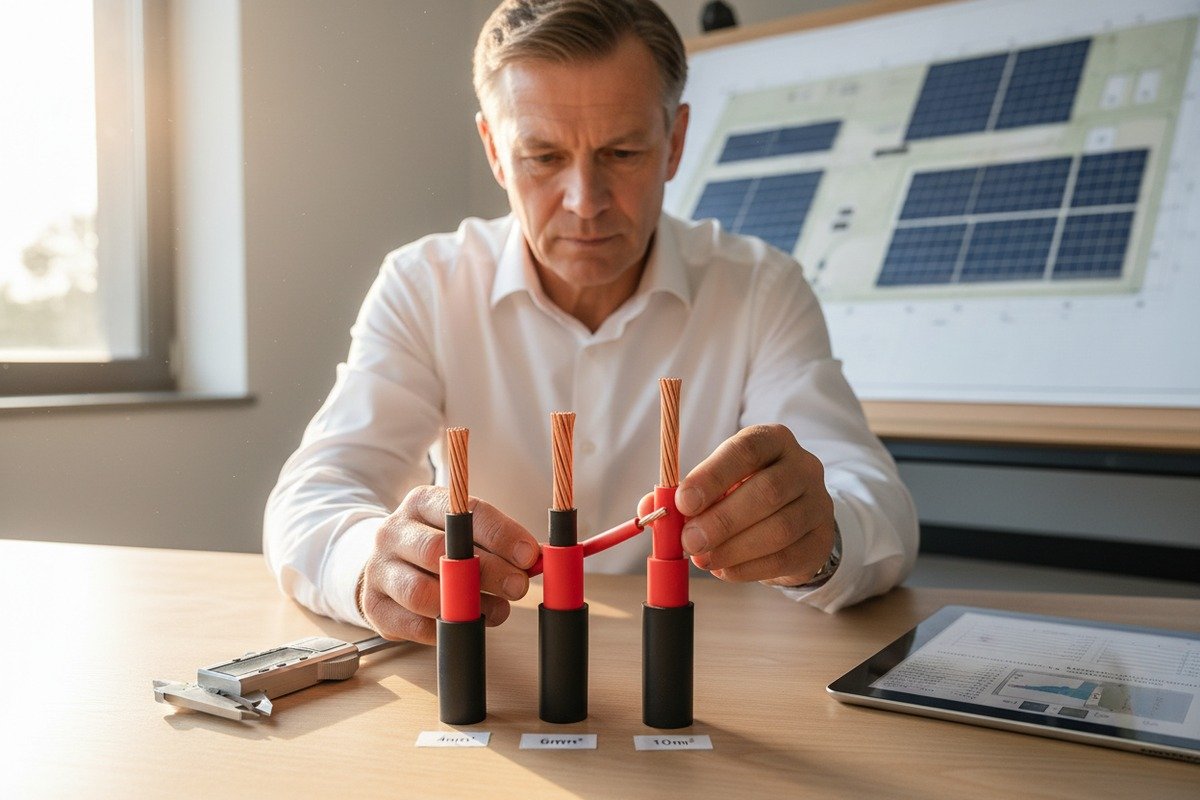
To evaluate 4mm², 6mm², and 10mm² solar PV cables for sourcing, assess your system's string current, cable run length, acceptable voltage drop (under 3%), environmental exposure, and compliance certifications like TUV EN50618. Match each size to system power, distance, and long-term efficiency goals.
Below, we break down each key decision point so you can confidently select the right cross-section for your next project I²R loss formula 2. Let's walk through it step by step.
How do I determine if 4mm² or 6mm² is the most appropriate cross-section for my specific solar string current?
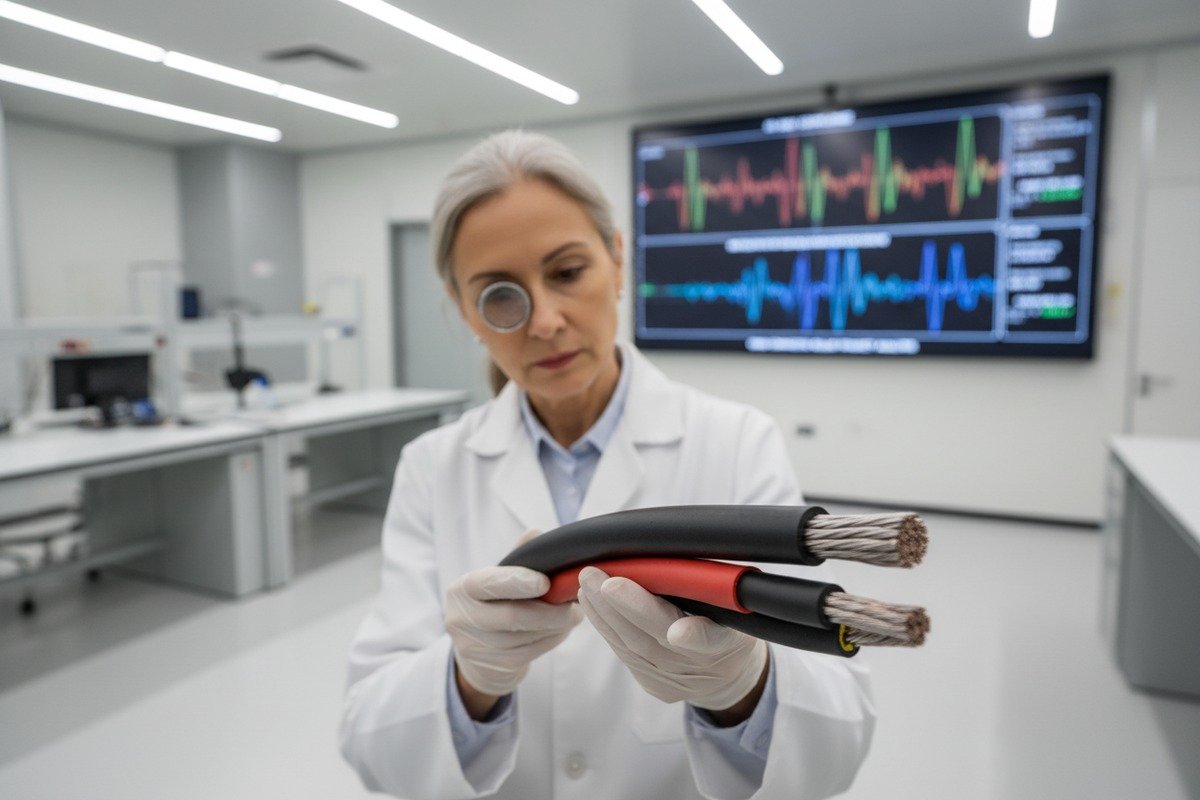
Choosing between 4mm² and 6mm² often comes down to just a few amps tinned copper (Class 5 flexible) 3. On our production floor, we test thousands of cable samples yearly, and the margin between "safe" and "undersized" is smaller than most buyers think.
To determine the right cross-section, calculate your maximum string current (Isc × 1.25 safety factor) and compare it against the cable's rated ampacity. 4mm² cables handle 55–60A safely for short runs, while 6mm² supports 70–80A and provides a wider safety margin for higher-output panels.

Start With Your String Current
The first step is simple. Look at your solar panel datasheet. Find the short-circuit current (Isc) 4. Multiply it by 1.25. This gives you the minimum cable ampacity you need. Most modern panels produce between 10A and 18A Isc per string. If you run two strings in parallel, double that number.
For example, a string of 15 panels with an Isc of 11.5A needs a cable rated for at least 14.4A (11.5 × 1.25). Both 4mm² and 6mm² handle this easily. But if you parallel two strings into one home run, you now need capacity for 28.8A minimum. Still fine for 4mm², but you are eating into your safety headroom.
When Does 4mm² Make Sense?
4mm² cables are the go-to for small residential systems under 5–10 kW. They are lighter, easier to handle on rooftops, and cost less per meter. When our warehouse team packs orders for Southeast Asian residential installers, 4mm² makes up a large share of what ships out.
Use 4mm² when:
- String current stays below 40A after the 1.25 safety factor 5.
- Cable runs are under 15–20 meters.
- Budget is tight and the system is straightforward.
When Should You Step Up to 6mm²?
6mm² cables earn their place on medium-to-large commercial rooftops and ground-mount arrays. They carry more current and run cooler under sustained load. Heat is the enemy of cable life, so running cooler means lasting longer.
| Parameter | 4mm² Solar PV Cable | 6mm² Solar PV Cable |
|---|---|---|
| Rated Ampacity (typical) | 55–60 A | 70–80 A |
| Ideal System Size | < 5–10 kW residential | 10–50 kW commercial |
| Recommended Max Run | < 15–20 m | 20–50 m |
| Conductor Weight (per m) | ~38 g/m | ~57 g/m |
| Relative Cost | Lower | ~30–40% more |
| Best Application | Short rooftop runs, single strings | Longer runs, paralleled strings |
The Safety Margin Matters More Than You Think
Our engineering team always reminds clients: cables do not operate in lab conditions. Rooftop temperatures in the Middle East or Southern Europe can push ambient temperatures above 50°C. At higher ambient temperatures, the cable's effective ampacity drops. A 4mm² cable rated for 55A at 30°C might only safely carry 44A at 60°C. If your string current sits near that threshold, stepping up to 6mm² is not oversizing. It is smart engineering.
Also consider conduit installations. When cables are bundled together in a conduit or cable tray, heat builds up. Derating factors apply. In our experience exporting to European EPC firms, most specifiers default to 6mm² for any rooftop run exceeding 10 meters precisely because of these thermal derating realities.
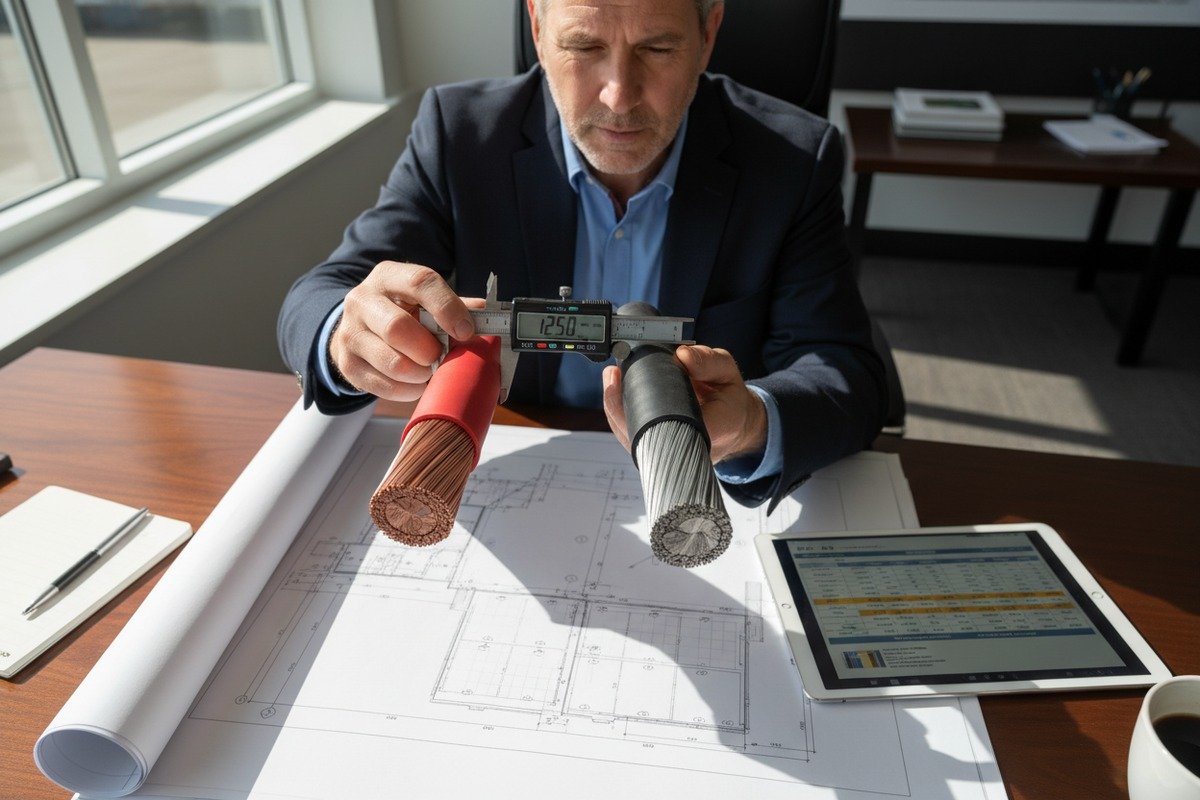
How should I factor in distance and voltage drop when deciding between 6mm² and 10mm² cables for my project?
Distance is the silent cost killer in solar projects. When we run quality audits on returned cable orders, the most common sourcing mistake is not current overload—it is voltage drop from underestimating cable length.
Factor in distance by calculating voltage drop using the formula: Vdrop = (2 × Length × Current × Resistivity) / Cross-section. Keep total DC-side drop under 3%. For runs beyond 50 meters, 10mm² cable often becomes necessary to maintain system efficiency and protect your return on investment.

The Voltage Drop Formula You Need
Voltage drop is straightforward math. Here is the formula in practical terms:
Vdrop (V) = 2 × L × I × ρ / A
Where:
- L = one-way cable length in meters
- I = operating current in amps
- ρ = resistivity of copper 7 (0.0175 Ω·mm²/m at 20°C)
- A = cross-sectional area in mm²
The "2" accounts for the positive and negative cable combined. Then express the drop as a percentage of your system voltage: (Vdrop / Vsystem) × 100%.
Real-World Calculation Example
Imagine a ground-mount system. String voltage is 600V DC. Operating current is 10A. The cable run from the string to the combiner box is 80 meters one way.
| Cable Size | Vdrop (V) | Vdrop (%) | Within 3% Limit? |
|---|---|---|---|
| 6mm² | 2 × 80 × 10 × 0.0175 / 6 = 4.67 V | 0.78% | ✔ Yes |
| 10mm² | 2 × 80 × 10 × 0.0175 / 10 = 2.80 V | 0.47% | ✔ Yes |
At 600V, both sizes pass. Now change the scenario. Drop the system voltage to 120V (common in some off-grid setups):
| Cable Size | Vdrop (V) | Vdrop (%) | Within 3% Limit? |
|---|---|---|---|
| 6mm² | 4.67 V | 3.89% | ✘ No |
| 10mm² | 2.80 V | 2.33% | ✔ Yes |
This is the critical insight. At lower system voltages, even moderate distances demand thicker cable. Many off-grid and camping setups in Australia and Africa operate at 12V, 24V, or 48V. In those cases, 10mm² becomes essential even for runs of just 15–20 meters.
Distance Thresholds as a Quick Reference
From our export data and project feedback, here is a practical guideline table:
| System Voltage | 6mm² Max Practical Distance | 10mm² Max Practical Distance |
|---|---|---|
| 12V DC | ~5 m | ~8 m |
| 48V DC | ~20 m | ~35 m |
| 120V DC | ~50 m | ~80 m |
| 600V DC | ~250 m | ~400 m |
| 1000V DC | ~400 m+ | ~650 m+ |
These assume 10A current and a 3% drop limit. Higher current shortens the distance. Lower current extends it.
Why 3% and Not 5%?
Some installers use a 5% threshold. But most reputable EPC firms—especially those we work with in Germany and the Netherlands—insist on 3% or less. The reason is compounding loss. A 5% voltage drop on the DC side, combined with inverter conversion losses and AC-side losses, can push total system losses above 10%. Over a 25-year project life, that is tens of thousands of euros in lost revenue. Tighter voltage drop means tighter returns.
When our technical team reviews project specs for clients like Klaus, who manages large European solar farms, we always recommend running the calculation at the highest expected operating current—not the nominal. Cables heat up. Resistance increases with temperature. A calculation done at 20°C can understate real-world losses by 10–15%.
Can I justify the higher procurement cost of 10mm² cables by calculating the long-term reduction in power loss?
This is the question we hear most from procurement managers who need to defend their cable budget to project finance teams. On our end, we see buyers who chose 4mm² to save money, only to request a requote for 10mm² six months later after measuring real-world losses.
Yes, you can justify 10mm² cable costs through a power-loss payback calculation. Thicker cables reduce I²R losses over the system's 25-year lifespan. In many cases, the energy savings from reduced resistive losses pay back the cable cost premium within 3–7 years, making 10mm² a financially sound investment for long runs.

The I²R Loss Formula
Power lost in a cable is calculated as:
P_loss = I² × R
Where R (resistance) = (2 × L × ρ) / A
A larger cross-section means lower R, which means lower I²R losses. The relationship is linear with cross-section but quadratic with current. So even a small current increase has a big impact on losses.
A Concrete Cost-Benefit Example
Let's build a realistic scenario. A commercial rooftop in Spain. Cable run: 60 meters. Operating current: 10A. System operates roughly 1,500 peak sun hours per year. Electricity value: €0.08/kWh (feed-in tariff).
For 6mm²:
- R = (2 × 60 × 0.0175) / 6 = 0.35 Ω
- P_loss = 10² × 0.35 = 35 W
- Annual energy loss = 35 W × 1,500 h = 52.5 kWh
- Annual cost of loss = 52.5 × €0.08 = €4.20
- 25-year cost of loss = €105
For 10mm²:
- R = (2 × 60 × 0.0175) / 10 = 0.21 Ω
- P_loss = 10² × 0.21 = 21 W
- Annual energy loss = 21 W × 1,500 h = 31.5 kWh
- Annual cost of loss = 31.5 × €0.08 = €2.52
- 25-year cost of loss = €63
The difference: €42 saved over 25 years per cable run. If a commercial project has 50 such runs, the total saving is €2,100. The additional procurement cost of 10mm² over 6mm² for 50 runs of 120 meters (positive + negative) might be around €1,200–€1,800 depending on copper prices. Payback happens within 15–20 years in this scenario.
But increase the current to 15A (a very common scenario with high-efficiency panels), and the losses scale quadratically:
| Parameter | 6mm² at 15A | 10mm² at 15A | Savings with 10mm² |
|---|---|---|---|
| P_loss per run | 78.75 W | 47.25 W | 31.5 W |
| Annual energy loss | 118.1 kWh | 70.9 kWh | 47.2 kWh |
| 25-year energy loss | 2,953 kWh | 1,772 kWh | 1,181 kWh |
| 25-year cost (€0.08/kWh) | €236 | €142 | €94 per run |
| 50 runs total savings | — | — | €4,700 |
Now the payback on the cable upgrade happens in 5–8 years. For a 25-year asset, that is compelling.
Beyond the Numbers: Risk and Reliability
Thicker cables run cooler. Cooler cables degrade slower. Insulation lasts longer. Connector contact resistance stays lower. Over a 25-year lifespan, a cable that runs at 60% of its rated ampacity will almost certainly outlast one running at 85%. When we manufacture 10mm² H1Z2Z2-K cable in our 230,000 m² facility, we test the insulation at accelerated aging conditions. The data is clear: lower operating temperature equals longer service life.
For European procurement managers who answer to strict grid-connection inspectors, fewer thermal issues on site means fewer costly re-inspections and zero penalty delays. That risk reduction alone can justify the cost premium.
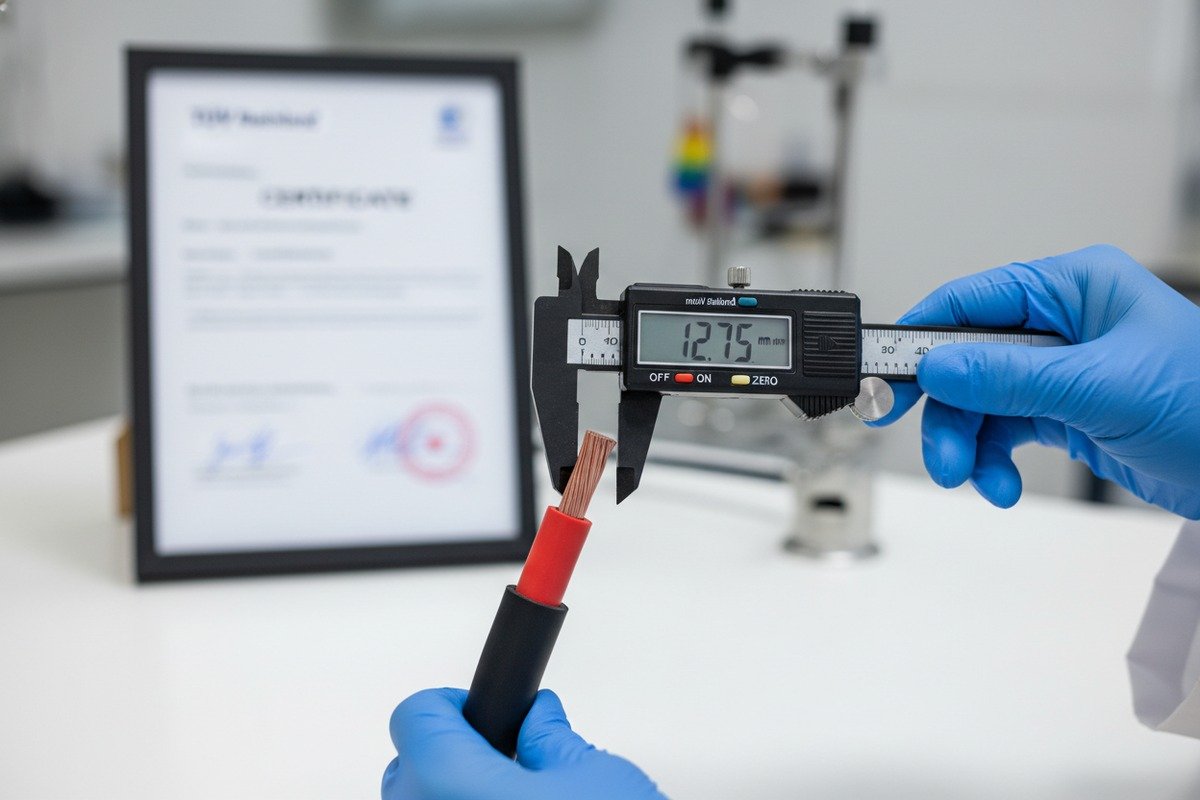
How do I ensure that the 4mm² and 6mm² cables I source meet the strict TUV EN50618 standards for my European installations?
Certification fraud is a real and growing problem. Our quality control team has seen competitors' cables stamped with TUV marks that do not match any registered certificate. For buyers like Klaus, who source from China for European solar farms, verifying compliance is not optional—it is the difference between a successful grid connection and a rejected shipment sitting in a Hamburg warehouse.
To ensure TUV EN50618 compliance, verify the supplier's certificate number directly on the TUV CERTIPEDIA database, request independent third-party test reports for voltage rating, UV resistance, and flame retardancy, and insist on batch-level traceability from raw XLPO insulation compound to finished cable. Never rely solely on markings printed on the cable sheath.

What Does EN50618 Actually Require?
EN50618 8 is the harmonized European standard for solar PV cables. It replaced the older TUV 2PFG 1169 standard and is now the baseline for all European installations. The key requirements include:
- Rated voltage: 1.5 kV DC (or 1.0 kV AC)
- Temperature range: -40°C to +90°C continuous
- UV resistance: tested per EN 50618 Annex (1,000+ hours accelerated aging)
- Flame retardancy: self-extinguishing per EN 60332-1-2
- Halogen-free construction
- Insulation and sheath: cross-linked polyolefin (XLPO) 9 or equivalent
- Conductor: tinned copper (Class 5 flexible)
- Minimum service life: 25 years under rated conditions
How to Verify a Supplier's TUV Certificate
Step one: ask for the certificate number. Every genuine TUV certificate has a unique ID. Go to the TUV CERTIPEDIA website (certipedia.com) and enter the number. If it does not appear, the certificate is fake or expired.
Step two: cross-check the scope. A valid certificate might cover 6mm² but not 4mm². Or it might cover only certain voltage ratings. Read the certificate scope line by line.
Step three: request the Factory Production Control (FPC) audit report. TUV conducts periodic factory audits. A legitimate manufacturer will have these on file.
At Lonsoncable, we maintain active TUV certification and welcome buyers to verify our certificate numbers directly. We also provide full batch traceability. Every drum of cable we ship links back to the specific XLPO compound batch, the copper rod supplier, and the extrusion date. This traceability is not just good practice—it is mandatory for CPR compliance in the EU.
Common Red Flags When Sourcing
Here are warning signs our European clients have learned to watch for:
- Price too low. If a 6mm² EN50618 cable is priced 40% below market, the copper content or insulation quality is likely substandard.
- No batch markings. Every meter of compliant cable should have continuous printing showing the standard, manufacturer code, and production batch.
- Vague test reports. If the supplier provides a "type test" from five years ago with no ongoing surveillance, the certificate may have lapsed.
- Wrong conductor class. EN50618 requires Class 5 (flexible stranded) tinned copper. Some suppliers substitute Class 2 (solid or coarsely stranded) or untinned copper to cut costs.
CPR Fire Classification: An Additional Layer
For cables installed inside European buildings, the Construction Products Regulation (CPR) applies. This adds a fire classification requirement (Eca, Dca, Cca, etc.). Many solar cables need at least Dca-s2,d2,a2 for commercial building installations. This is separate from the EN50618 certification and requires additional testing and a Declaration of Performance (DoP).
Our production lines are set up to deliver cables that satisfy both EN50618 and CPR Dca requirements simultaneously. We run flame spread and smoke emission tests in our in-house lab and send samples to accredited European testing bodies for independent validation. This dual compliance saves our EPC clients the headache of sourcing separate cables for indoor and outdoor segments of the same project.
Sourcing Checklist for EN50618 Compliance
| Checkpoint | What to Verify | How to Verify |
|---|---|---|
| TUV Certificate | Valid, current, correct scope | CERTIPEDIA database lookup |
| Conductor | Tinned copper, Class 5 flexible | Request material certificates, inspect samples |
| Insulation | XLPO, cross-linked, halogen-free | Ask for DSC (Differential Scanning Calorimetry) test results |
| UV Resistance | 1,000+ hours accelerated aging pass | Independent lab report per EN 50618 |
| Flame Retardancy | EN 60332-1-2 self-extinguishing | Third-party burn test certificate |
| CPR Rating (if needed) | Dca-s2,d2,a2 or better | Declaration of Performance (DoP) document |
| Batch Traceability | Compound, conductor, extrusion date | Request traceability matrix from supplier |
| Continuous Printing | Standard, size, manufacturer, batch on sheath | Visual inspection of cable sample |
When our team prepares shipments for German and Dutch distributors, every drum includes a QR code linking to the full test documentation package. We believe transparency builds trust, and trust builds long-term partnerships.
Conclusion
Selecting the right solar PV cable size is a balance of current capacity, distance, cost efficiency, and certification integrity. Run the calculations, verify the certificates, and choose a supplier who provides full transparency from factory to project site.
Footnotes
1. Explains the maximum current a cable can safely carry. ↩︎
2. Explains the fundamental formula for power loss in cables. ↩︎
3. Specifies the required conductor material and flexibility class. ↩︎
4. Defines a key electrical parameter for solar panels. ↩︎
5. Replaced 404 link with a comprehensive guide on solar panel wire sizing that explains the 1.25 NEC safety factor. ↩︎
6. Explains the calculation of voltage loss in cables. ↩︎
7. Provides the specific electrical property of copper. ↩︎
8. Replaced 404 link with a document explaining the EN 50618 standard for PV cables. ↩︎
9. Replaced 405 link with an article detailing the characteristics and applications of cross-linked polyolefin (XLPO) in cables, including comparisons to XLPE. ↩︎
10. Provides the official platform for verifying TUV certificates. ↩︎